Install phpMyAdmin on Ubuntu 14.04
Introduction
phpMyAdmin is an free web software to work with MySQL on the web—it provides a convenient visual front end to the MySQL capabilities.
Setup
The steps in this tutorial require the user to have root privileges on your virtual private server. You can see how to set that up here in steps 3 and 4.
Before working with phpMyAdmin you need to have LAMP installed on your server. If you don't have the Linux, Apache, MySQL, PHP stack on your server, you can find the tutorial for setting it up here.
Once you have the user and required software, you can start installing phpMyAdmin on your VPS!
Install phpMyAdmin
The easiest way to install phpmyadmin is through apt-get:
sudo apt-get install phpmyadmin apache2-utils
During the installation, phpMyAdmin will walk you through a basic configuration. Once the process starts up, follow these steps:
- Select Apache2 for the server
- Choose YES when asked about whether to Configure the database for phpmyadmin with dbconfig-common
- Enter your MySQL password when prompted
- Enter the password that you want to use to log into phpmyadmin
After the installation has completed, add phpmyadmin to the apache configuration.
sudo nano /etc/apache2/apache2.conf
Add the phpmyadmin config to the file.
Include /etc/phpmyadmin/apache.conf
Restart apache:
sudo service apache2 restart
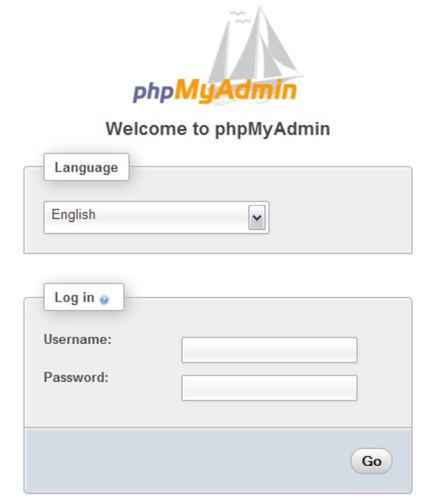
You can then access phpmyadmin by going to youripaddress/phpmyadmin. The screen should look like this
Latest Post
- Dependency injection
- Directives and Pipes
- Data binding
- HTTP Get vs. Post
- Node.js is everywhere
- MongoDB root user
- Combine JavaScript and CSS
- Inline Small JavaScript and CSS
- Minify JavaScript and CSS
- Defer Parsing of JavaScript
- Prefer Async Script Loading
- Components, Bootstrap and DOM
- What is HEAD in git?
- Show the changes in Git.
- What is AngularJS 2?
- Confidence Interval for a Population Mean
- Accuracy vs. Precision
- Sampling Distribution
- Working with the Normal Distribution
- Standardized score - Z score
- Percentile
- Evaluating the Normal Distribution
- What is Nodejs? Advantages and disadvantage?
- How do I debug Nodejs applications?
- Sync directory search using fs.readdirSync