Install Apache web server on Ubuntu 14.04
Install Apache Web Server
The Apache web server is currently the most popular web server in the world, which makes it a great default choice for hosting a website.
The Apache web server can be easily installed using Ubuntu's package manager, apt. A package manager allows us to install most software pain-free from a repository maintained by Ubuntu. For more about the apt, you can check here.
The Apache web server can be installed by typing these commands:
sudo apt-get update
sudo apt-get install apache2
Since a sudo command is applied, these operations get executed with root privileges. It will ask you for your regular user's password to verify your intentions.
Afterwards, your web server is installed.
The default Apache Web server directory is /var/www/html/.
The default Apache Web access log is /var/log/apache/access.log or /var/log/apache2/access.log. If logs aren't there, try running locate access.log. You can run tail -f [log_file_name] command to se who is accessing the server.
Verify the Apache Web Server
You can do a spot check right away to verify that everything went as planned by visiting your server's public IP address in your web browser (To find your server's public IP, you can see here):
http://your_server_IP_address
You will see the default Ubuntu 14.04 Apache web page, which is there for informational and testing purposes. It should look something like this:
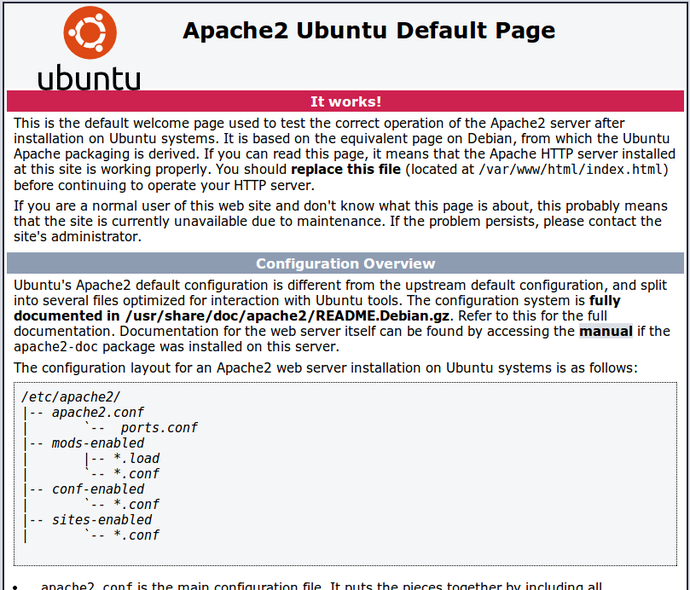
If you see this page, then your web server is now correctly installed.
Latest Post
- Dependency injection
- Directives and Pipes
- Data binding
- HTTP Get vs. Post
- Node.js is everywhere
- MongoDB root user
- Combine JavaScript and CSS
- Inline Small JavaScript and CSS
- Minify JavaScript and CSS
- Defer Parsing of JavaScript
- Prefer Async Script Loading
- Components, Bootstrap and DOM
- What is HEAD in git?
- Show the changes in Git.
- What is AngularJS 2?
- Confidence Interval for a Population Mean
- Accuracy vs. Precision
- Sampling Distribution
- Working with the Normal Distribution
- Standardized score - Z score
- Percentile
- Evaluating the Normal Distribution
- What is Nodejs? Advantages and disadvantage?
- How do I debug Nodejs applications?
- Sync directory search using fs.readdirSync